
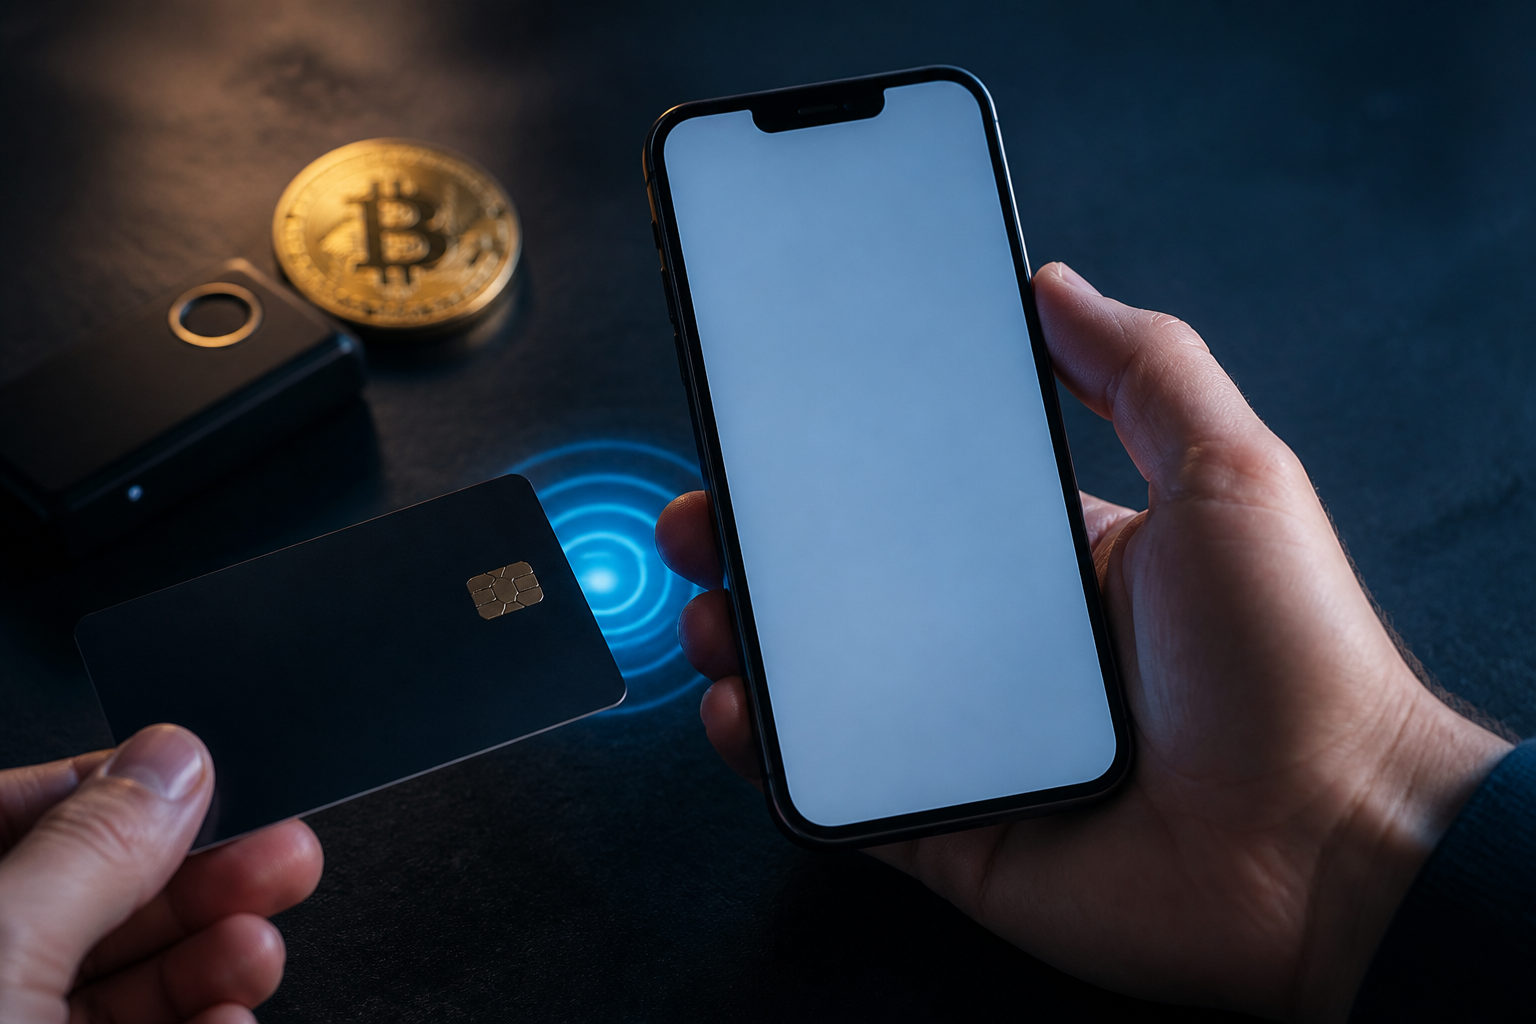
To buy bitcoin using Apple Pay, first choose a service that clearly supports it, finish account and payment setup, review the full cost before you confirm, then test the process with a small order. The real risks usually sit around custody, withdrawal rules, and scams, not the tap-to-pay step itself.
Start by checking what you are actually buying
People who search for how to buy bitcoin using Apple Pay often focus on the payment method and skip the product. That can lead to confusion later. In some cases you are buying spot BTC that can be withdrawn to your own wallet. In others, you may only be getting exposure to the price through a product that stays inside the provider's system.
Read the wording on the purchase screen carefully. If a service says you can buy bitcoin but does not clearly mention withdrawals, wallet addresses, or sending BTC on-chain, take that as a sign to look deeper before you pay. For anyone planning to hold bitcoin for more than a brief trade, the ability to withdraw matters as much as the purchase itself.
Step 1: Filter for services that clearly support Apple Pay
The cleanest approach is to work backward from the payment method. Look for a service that explicitly says Apple Pay is available for bitcoin purchases. Do not assume that a provider supporting cards in general will also accept Apple Pay in every region, on every device, or on every purchase flow.
Three checks are practical. First, see whether the checkout page lists Apple Pay directly. Second, read the help documentation for any conditions tied to device type, location, or account status. Third, inspect the confirmation screen before placing an order and see whether it shows both your total spend in dollars and the amount of BTC you expect to receive.
If a provider uses vague phrases such as quick buy or instant purchase but does not explain how Apple Pay works in that process, transparency is weak. That does not prove bad intent, but it does raise the chance of confusion at the point where money leaves your account.
Also check whether the service allows withdrawals after purchase. A smooth buy flow is less useful if your BTC is stuck inside the platform or subject to extra review before you can move it.
Step 2: Prepare your account and payment setup before you try to buy
Apple Pay is only the payment layer. Underneath it, the provider may still require account verification, security settings, and card validation. It is much easier to handle these requirements before you attempt a purchase than to discover them halfway through the order.
Set up your account through the official website or official app only. Fake apps, spoofed pages, and copied login screens are common entry points for theft. A scam page often tries to combine sign-up, identity verification, and payment into one smooth sequence so that you submit personal details and authorize payment before you pause to check where you are.
Once your account exists, complete the provider's identity checks if required, then review your device settings and confirm that the Apple Pay card you want to use is the correct one. This sounds basic, but it helps avoid accidental purchases on a card you did not intend to use for crypto transactions.
Security settings deserve attention here too. Turn on two-factor protection if the service offers it. The payment step may be convenient, but account access is still the gate that controls your BTC after the order clears.
Step 3: Read the order confirmation screen like a contract
The confirmation screen carries more useful information than the headline fee. Before buying, check your total outlay in dollars, the BTC you will receive, and any conditions that may affect later withdrawal. A low visible fee can still produce a poor outcome if the quoted purchase price is unfavorable or if extra charges appear when you try to move the coins.
Some services break costs into several pieces. Others keep the screen simple but provide less detail than you need. Your goal is not to memorize every fee label. Your goal is to know what leaves your account, what enters your balance, and whether you can transfer that bitcoin out afterward.
If the service does not show the expected BTC amount before you confirm, or if key cost details stay hidden until after payment, stop there. Convenience should never require blind trust.
Step 4: Use a small test purchase first
Your first Apple Pay bitcoin order should be a test, not a commitment. Use a small amount that lets you verify the full path from payment authorization to credited BTC. This step helps separate payment issues from account issues and from withdrawal issues.
A useful test answers several questions at once. Did Apple Pay complete without error. Did the BTC appear in the account as shown. Did the provider place your account into extra review. Can you send the bitcoin to an external wallet if you choose to. A small order gives you those answers while keeping the downside limited.
After the test, avoid hammering the buy button with repeated attempts in a short span. Rapid retries can trigger risk controls, especially if you switch devices, use unstable network connections, or just added the payment card.
Step 5: Decide where your bitcoin will live after the purchase
Buying bitcoin is only one part of the task. You also need a storage plan. If you intend to hold for a while, learn the difference between leaving BTC with the provider and moving it to a self-custody wallet. The first option is convenient. The second gives you direct control over access and transfers.
If you choose self-custody, set up the wallet before moving meaningful funds. Protect your recovery phrase or private keys carefully. Do not store them in screenshots. Do not drop them into cloud notes. Do not share them with anyone claiming to be support. A service employee never needs them to help you.
When you are ready to withdraw, verify the address and network details carefully, then send a small amount first. That confirms both your wallet setup and the provider's withdrawal flow. If you are not yet comfortable with backup and recovery, take time to learn that process before moving your BTC off the platform.
Step 6: Learn the scam patterns tied to Apple Pay and bitcoin purchases
The most common danger around Apple Pay and bitcoin is not a break in the payment system. It is social engineering. A scammer may offer to buy bitcoin for you if you send payment through Apple Pay to a personal account. Another may pretend to be customer support and ask for an extra payment to release or verify your funds. That is a red flag.
Private off-platform deals create another layer of risk. A seller may show screenshots of a completed purchase or a wallet balance and promise to send BTC after you pay. Those images do not prove control of funds, and they do not protect you if the transfer never arrives. If the process depends on chat promises rather than a verifiable in-service settlement flow, your position is weak.
Be especially careful with any request for your recovery phrase, verification code, or screen-sharing access. A real provider does not need any of those to complete a normal purchase. Pressure is also a warning sign. If someone pushes you to act immediately, move to a private chat, or bypass the official app, stop the process.
Step 7: If the purchase fails, diagnose before you retry
When Apple Pay does not go through, the point of failure matters. If the order is blocked before the payment sheet appears, the issue may be account status, regional support, or product availability in that flow. If Apple Pay opens and then fails, the problem may involve the card, the issuer, or device authentication. If payment appears to have gone through but BTC does not show up, check the order status page first.
Do not respond to a pending status by submitting multiple new orders through different screens. Save the order details, time, and any system message, then contact official support through the provider's own channels. This makes reconciliation much easier if there is a duplicate charge or delayed credit.
If anyone contacts you outside the official support path and asks for one-time codes, login credentials, or remote access to your phone, treat that as hostile behavior.
FAQ
Is buying bitcoin with Apple Pay always faster?
Not always. The payment step can feel quicker, but account review, transaction checks, and withdrawal rules still affect the full process. A smooth checkout does not guarantee immediate control of the BTC.
Will bitcoin bought with Apple Pay go straight to my personal wallet?
Usually no. In many cases the BTC first appears in your account with the provider. Whether you can move it to your own wallet depends on that service's withdrawal features and your account permissions.
Why do I have Apple Pay on my device but do not see it at checkout?
The service may limit Apple Pay by region, device environment, account status, or purchase flow. Start by confirming you are using the official app or site and then check the provider's support documentation for conditions.
How can I tell whether the cost is too high?
Focus on total dollars spent and final BTC received rather than one named fee. If the confirmation screen does not clearly show cost, expected BTC, and withdrawal conditions, you do not have enough information to judge the deal.
Should I withdraw the bitcoin right after buying it?
That depends on your plan and your skill level with wallet security. If you want direct control and understand backups and recovery, self-custody may fit you better. If you do not yet know how to secure a wallet properly, learn that first.
What to verify before you confirm the order
Before using Apple Pay to buy bitcoin, check four things one last time: you are in the official purchase flow, the full cost is visible, withdrawal is possible if you want it, and you know where the BTC will be stored after the trade. If any of those points is unclear, pause and resolve it before paying.
Disclaimer: This article is for informational and educational purposes only and is not investment, financial, or legal advice. Crypto assets are highly volatile and you could lose your entire investment. Do your own research and decide carefully.