
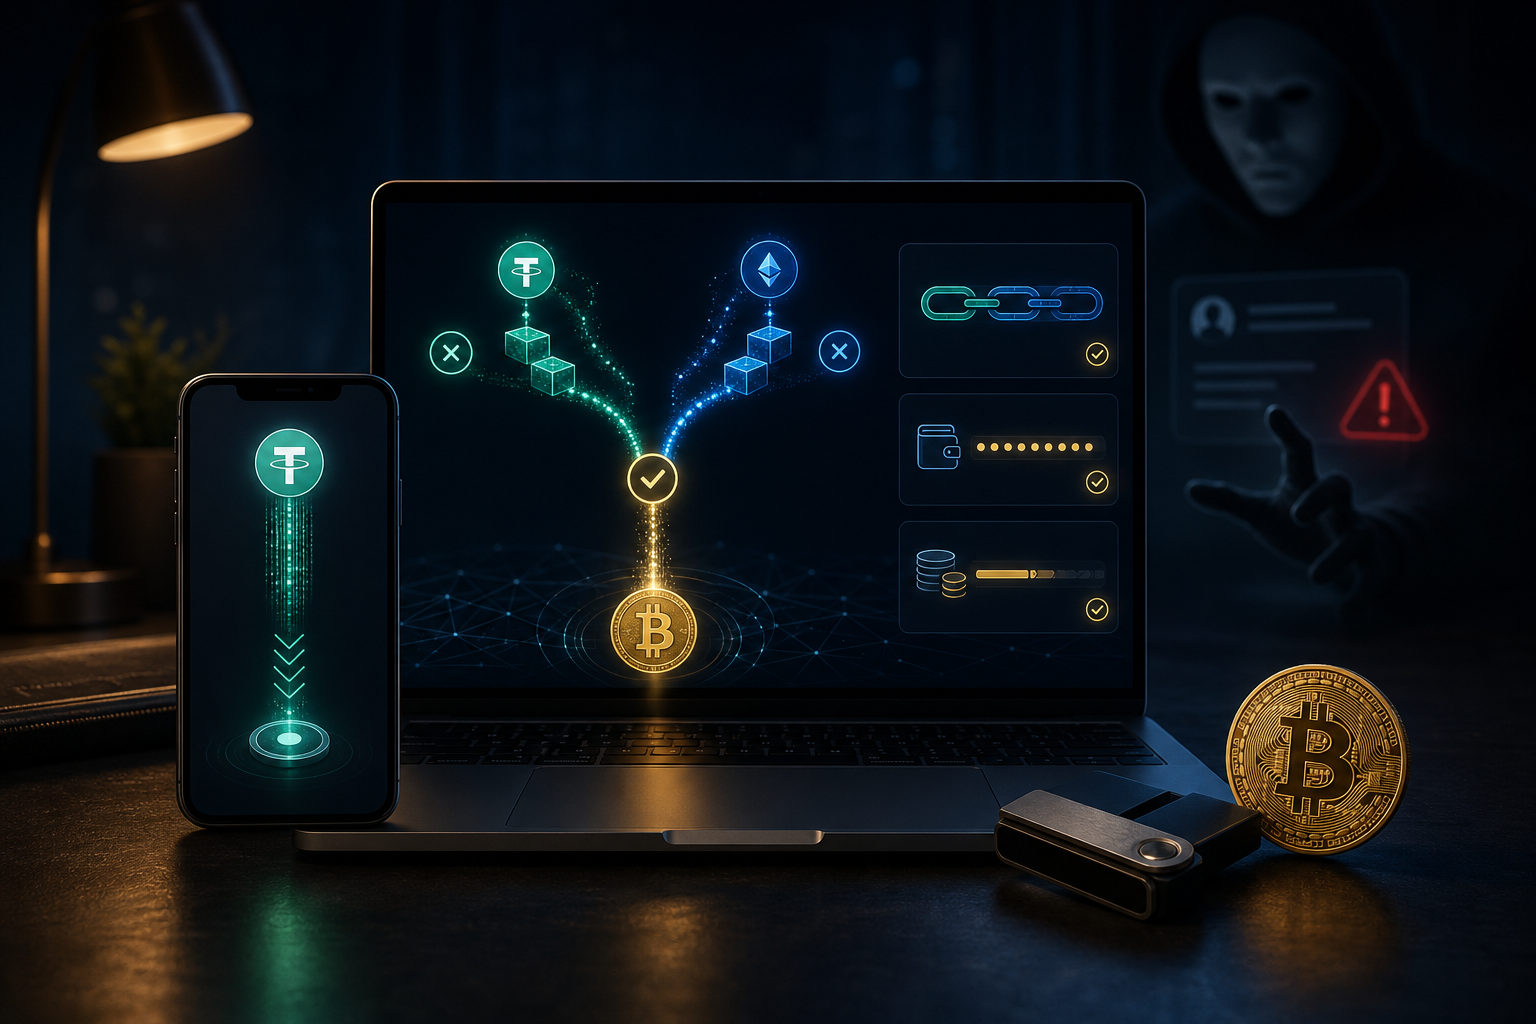
To convert USDT to Bitcoin, first confirm which network your USDT is on, choose a swap method you understand, verify the BTC destination, and review the final records after the trade. The mechanics are not hard. The mistakes usually come from network confusion, fake support messages, copied addresses, or rushing through the order screen.
What you are actually doing when you swap USDT for Bitcoin
People often treat this as a simple coin-for-coin change. In practice, the process can involve different account types, different blockchains, and different transfer steps before the swap even happens. USDT is a stablecoin, but it can exist on more than one chain. Bitcoin runs on the Bitcoin network, and its receiving addresses are not interchangeable with stablecoin deposit routes.
That is why the question of "how to convert USDT to bitcoin" is really a question about process control. In one setup, you may trade USDT for BTC inside the same account. In another, you may move USDT first, complete the conversion in a trading account, and then withdraw BTC to your own wallet. The swap itself can be easy. The path around it is where users get into trouble.
A good workflow keeps these tasks separate in your mind: moving assets, converting assets, and storing assets. If you blur them together, it becomes much easier to send funds to the wrong place or approve a transaction you did not fully read.
Before you start: the checks that prevent expensive errors
Step one: identify the network for your USDT
Open your wallet or account and check the network attached to the USDT balance you plan to use. Do not assume that every USDT balance works the same way just because the ticker is the same.
The reason is simple: support depends on the route you choose. A trading account, swap tool, or wallet feature may support one USDT network and not another. If you skip this check, you may end up sending funds through an unsupported path or waiting for a deposit that never credits properly.
The main caution here is to look past the asset name. "USDT" tells you what the asset is, but not how it moves. For a first-time user, that distinction matters more than speed.
Step two: prepare a valid BTC receiving address if you plan to withdraw
If your goal is to hold the Bitcoin in your own wallet, create or copy the BTC receiving address before you make the conversion. Do not wait until after the swap is complete and then start searching for the address under pressure.
There is a clear reason for this. Once Bitcoin is sent out, reversing the action is usually not an option. You want time to verify that the address belongs to your wallet and that it is meant for Bitcoin. A quick but important habit is to compare the beginning and ending characters after pasting the address, since clipboard tampering malware can replace copied wallet strings without making the change obvious.
Step three: separate "swap" from "transfer"
A swap changes USDT into BTC. A transfer moves assets from one wallet or account to another. You may need both, or you may only need one of them, depending on where the USDT already sits and what tools you use.
This distinction helps you understand where costs and risks come from. A user may blame the conversion for a poor result when the bigger issue was the transfer route, the withdrawal flow, or a bad address check. Clear thinking at this stage makes the rest of the process easier to manage.
Common ways to convert USDT to Bitcoin
Method one: use a spot trading interface
This is a common approach for users who already keep assets in an account that supports crypto-to-crypto trading. The basic flow is to move USDT into the tradable balance, find the BTC-USDT trading pair, enter the amount, review the order details, and submit.
The advantage is visibility. You can usually see your balance, the pair you are trading, and the expected execution details. The caution is that an estimated result on screen may not perfectly match the final fill if the market moves while you are placing the order. You should also make sure you understand the order type before using it. If you are unsure, simple order flows are better than features you do not fully understand.
Method two: use an in-app or in-wallet swap feature
Some wallets and accounts include a built-in swap tool. You choose USDT as the asset you give up, BTC as the asset you want, and the system shows an estimated outcome before you confirm. For beginners, this can feel easier because the interface is more guided.
That convenience comes with a tradeoff. The process may hide details such as pricing source, spread, or extra service charges behind a single final quote. Before you confirm anything, check how much BTC you are expected to receive, whether there is a separate fee, and how long the quote stays valid. A cleaner screen should not mean less scrutiny.
Method three: transfer USDT to a trading account, convert, then withdraw BTC
If your USDT is currently stored in a wallet with limited swap support, you may first transfer it to an account that supports trading, convert it to Bitcoin there, and then withdraw the BTC to your own wallet.
This route makes sense for users who want more control over the final storage location. It also introduces more checkpoints. You must verify the incoming USDT deposit route, confirm that the trading pair is correct, and then make sure the BTC withdrawal goes out over the Bitcoin network to the right destination. More steps do not always mean worse. They do mean you need to slow down and verify each one.
Step-by-step: what to do, why to do it, and what to watch for
Step one: start with a clean and trusted environment
Use the official app or official website you already know. Avoid logging in through links sent in private messages, random group chats, fake support conversations, or suspicious search ads. A page that looks familiar can still be a phishing copy.
The reason is practical. Many losses happen before the swap begins because users enter login details, one-time codes, or wallet recovery data into a fake page. If anyone asks for your seed phrase, private key, verification code, or remote screen access to "help" with the swap, stop immediately. No legitimate conversion process requires you to hand over wallet control.
Step two: check available USDT, not just total balance
Many services split funds across different sections such as spot, funding, earn, or other internal balances. Seeing a USDT total on the overview page does not guarantee that the amount is ready to trade right away.
Checking available funds first helps you avoid failed orders and accidental full-balance conversions. It is also wise to keep some room rather than using every unit of USDT at once. Leaving a margin can help with testing, later transfers, or a change of plan.
Step three: decide where the Bitcoin should end up
Before you convert, decide whether the BTC will remain in the account or move to your own wallet. Neither choice is automatically right for everyone.
If you plan to hold Bitcoin in self-custody, make sure your wallet is ready and your backup process is clear before you trade. If self-custody is still new to you, it may be safer to learn the handling process first instead of rushing into a withdrawal you do not fully understand. Control is useful, but only if you can manage it correctly.
Step four: when using a new route, test with a small amount first
If this is your first time using a new wallet, a new receiving address, or a new swap workflow, a small test can reduce the chance of a large mistake. It confirms that your address, network choice, and understanding of the process are all aligned.
The reason is not complicated. Serious losses often start with confidence rather than complexity. Even after a successful test, repeat your checks on the full transaction. An address can be copied incorrectly later, or a user can switch screens and confirm the wrong field by habit.
Step five: review three items before you submit the conversion
First, verify the direction of the trade: you are giving up USDT and receiving BTC. Second, review the estimated amount of Bitcoin you will get. Third, confirm the destination inside the account or the later withdrawal path.
Many interfaces place swap, buy, sell, transfer, and withdraw functions close together. The buttons can look similar enough to invite a mistake. Do not focus only on the final confirmation button. Read the key fields in full before approving the action.
Step six: after completion, check both order history and asset records
Once the swap goes through, look at the order history to confirm execution, then check the asset records to make sure BTC actually arrived where you expected. If you also withdrew the Bitcoin, keep going until the wallet shows the incoming funds and the withdrawal status matches what you see.
This step matters because a success message on screen does not always answer every operational question. If something looks off, do not repeat the transaction blindly. First identify whether the issue is a pending transfer, a network mismatch, or a misunderstanding of the account flow.
The most common mistakes and scams
- Sending USDT to a BTC address as if that were a conversion: a transfer is not the same as a swap.
- Ignoring the network: the asset name alone is not enough.
- Trusting a stranger who offers to convert it for you: attractive quotes are often bait.
- Following fake support instructions: scammers often claim there is an account issue that requires urgent verification.
- Using a phishing app or website: the visual design may be convincing, but the goal is credential theft.
- Not checking copied addresses: clipboard malware can swap in a different BTC address.
- Comparing only headline fees: what matters is the final amount of BTC received.
The pattern behind these risks is consistent. They exploit hurry, confusion, and trust. The best defense is a routine: use official access points, verify every network and address, reject any request for sensitive wallet data, and pause when someone pushes urgency.
How to judge whether the conversion setup makes sense
Even without live market numbers, you can still evaluate the quality of the route you are about to use. Look at the full cost structure, not just one visible fee. That includes transfer costs, the spread built into the conversion, service charges if any, and later withdrawal costs if you are moving the Bitcoin out.
You should also ask what your actual goal is. If you want to hold Bitcoin for the longer term, a clean and secure process often matters more than shaving a small amount off the cost. If you are making a quick portfolio adjustment, fewer steps may reduce the chance of an operational mistake.
Another useful check is whether the route matches your own skill level. A setup that is technically more flexible may still be a poor choice if it introduces wallet management tasks you are not ready to handle yet.
FAQ
Can I swap USDT directly into Bitcoin?
Yes, if your wallet or account supports a USDT-to-BTC conversion path. The key checks are network support, the trade direction, and where the Bitcoin will be held after the swap.
What should I verify first before converting USDT to BTC?
Start with the USDT network and your intended BTC destination. If either one is unclear, every later step becomes riskier because you may be building the process on the wrong assumption.
Why is the Bitcoin amount I receive different from what I expected?
The final amount can differ because of spread, service charges, quote updates, or market movement during execution. The number that matters is the final estimated BTC shown before confirmation, not a rough assumption you made earlier.
Should I keep the converted Bitcoin in the account or move it to my own wallet?
That depends on your storage preference and your ability to manage self-custody safely. If you use your own wallet, make sure you understand backups and recovery before moving funds there.
Someone messaged me offering a better USDT-to-BTC deal. Is that safe?
You should treat that with high suspicion. If the person asks you to send funds first, share codes, install software, or give screen access, the risk is already too high.
Final pre-trade checklist
- You are using the official app or official website
- You have confirmed the network for your USDT
- You have verified the trade direction is USDT to BTC
- You have checked the BTC receiving address carefully
- You have reviewed the estimated BTC amount and fees
- You have not shared your seed phrase, private key, or verification codes with anyone
- You have tested with a small amount if the route is new to you
If you are ready to convert USDT to Bitcoin now, slow down for one last review before you press confirm. Most serious errors do not happen because the process is impossible. They happen because a user skips one check that looked too basic to matter.
Disclaimer: This article is for informational and educational purposes only and is not investment, financial, or legal advice. Crypto assets are highly volatile and you could lose your entire investment. Do your own research and decide carefully.