
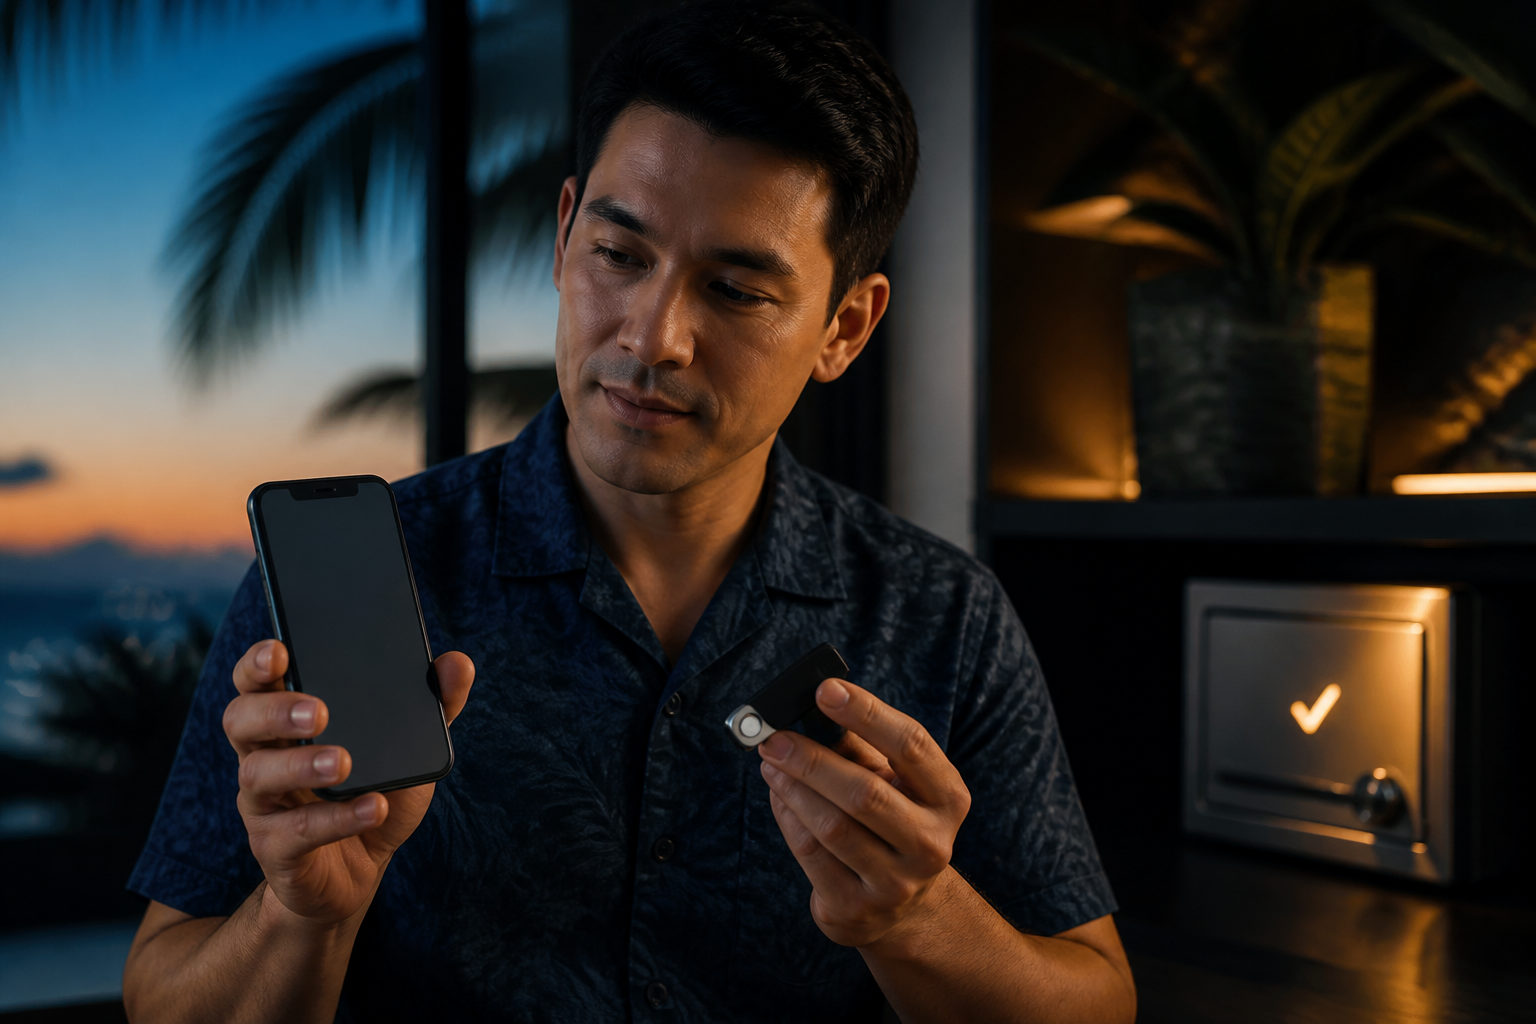
If you're trying to figure out how to buy Bitcoin in Hawaii, the honest answer looks pretty different from what it did a few years ago. Hawaii used to be one of the few U.S. states where you couldn't even open a Coinbase account, and that only changed because of a regulatory shift in 2024. So the real first step isn't "pick an exchange and sign up" — it's confirming that the platform you're eyeing actually serves Hawaii residents right now, then working through identity verification, a small test purchase, and finally moving your coins into a wallet you control.
Why buying Bitcoin in Hawaii used to be genuinely hard
If you've done any research before landing here, you may have run into old complaints along the lines of "Coinbase doesn't work in Hawaii." That wasn't outdated internet chatter — it was a real, structural problem. Hawaii's Money Transmitters Act required licensed money transmitters to hold "permissible investments" equal to the value of outstanding customer obligations, and for years the state simply didn't recognize digital currency itself as a qualifying permissible investment. In practice, that meant an exchange holding Bitcoin balances on behalf of Hawaii customers had almost no compliant way to satisfy that reserve requirement. Rather than fight that math, most major platforms, Coinbase included, just excluded Hawaii residents for years.
The turning point came in 2024. On January 25, 2024, Hawaii's Division of Financial Institutions (DFI), part of the Department of Commerce and Consumer Affairs, together with the Hawaii Technology Development Corporation (HTDC), announced that DFI would no longer apply the state's Money Transmitters Act to cryptocurrency activities. The state's regulatory sandbox program, the Digital Currency Innovation Lab (DCIL), which had been running since 2020 and let a handful of approved companies operate under supervision without a full license, wrapped up on June 30, 2024. Put those two things together and the practical effect is that exchanges no longer need a Hawaii-issued money transmitter license to serve residents of the state.
That doesn't mean crypto companies operating in Hawaii are now unregulated in every sense. They're still expected to meet applicable federal requirements — registering with FinCEN (the Treasury Department's Financial Crimes Enforcement Network) as a money services business, following relevant SEC and FINRA rules where they apply, and complying with federal anti-money-laundering obligations. The state stepped back from licensing crypto activity specifically; federal oversight didn't go anywhere.
Step one: confirm which platforms actually serve Hawaii residents right now
Because the rule change happened relatively recently, and because different exchanges came back (or never left) on their own timelines, search results for "buy Bitcoin in Hawaii" mix outdated and current information pretty freely. That's the single easiest place to get tripped up. Based on publicly available information, here's roughly where things stand: Coinbase reopened registration to Hawaii residents in August 2024, after roughly a seven-year absence. Kraken had already held a Hawaii money transmitter license and had been serving local users through that route. Gemini has supported Hawaii residents continuously since it joined the state's sandbox program back in 2020. Binance.US, as of when this article was researched, still did not serve Hawaii residents.
| Platform | Status with Hawaii (as of this research) | What to double-check |
|---|---|---|
| Coinbase | Reopened to Hawaii residents in August 2024 after about seven years excluded | Older accounts may need to re-verify address and ID info |
| Kraken | Previously licensed and has continued serving Hawaii users | Confirm current fee schedule and which assets support withdrawal |
| Gemini | Serving Hawaii users continuously since the 2020 sandbox program | Some advanced features may be gated differently for Hawaii accounts |
| Binance.US | Not serving Hawaii residents as of this research | Ignore third-party "how to get around it" tutorials — they're a red flag, not a workaround |
Treat that table as a snapshot, not a permanent fact. Exchange availability shifts with policy changes, corporate strategy, and each platform's own compliance timeline, so the number that actually matters is what the sign-up flow tells you when you enter your address or select your state — most platforms will tell you immediately whether you can continue. Don't make a final decision based on one article or a months-old screenshot.
Beyond whether you can even register, look at a few other things: does the platform accept the ID documents you actually have, can you withdraw BTC to an outside wallet after buying, are fees and limits disclosed clearly, and is there a real support or appeals path if something goes wrong with your account. Any platform that downplays identity checks or is vague about who actually owns the receiving account deserves extra scrutiny.
Step two: get your paperwork straight before you touch verification
Once you've confirmed a platform will actually take you, resist the urge to rush into an order. Get your documentation lined up first. A lot of people assume verification just means uploading a photo of an ID, but it often also pulls in your address, whether your payment account name matches your registered name, some basic device checks, and occasionally an on-the-spot selfie or face match.
What matters most here is consistency. If the name on your ID, the name on your bank account, and the address format you type in don't line up cleanly, the platform's risk systems may flag the account as suspicious. Discovering that after you've already wired money in is a miserable experience — funds can get frozen while support sorts it out, and that can take days.
Your device and network matter too. Use a phone or computer you normally use, on a connection you trust, rather than public Wi-Fi, and don't let someone else "help" by doing the upload for you. Anyone offering to handle your identity verification on your behalf, or promising to get you past a review, isn't doing you a favor — if the account later gets flagged, you're the one who's accountable, not them.
Three small things worth checking before you start
- Make sure your ID isn't close to expiring — restarting mid-verification is annoying.
- Try to have your payment account name match your registered name to avoid unnecessary flags.
- Turn on two-factor authentication before you fund the account, not after.
Step three: payment methods and what Hawaii banks actually do with crypto purchases
Your payment method affects speed, cost, and risk more than most people expect, and Hawaii's local banks tend to be cautious about crypto specifically. Bank of Hawaii, for instance, doesn't offer any built-in way to trade cryptocurrency directly through its own online banking or app — you can't place a Bitcoin order there the way you might buy a stock. First Hawaiian Bank goes further on its credit card terms, classifying cryptocurrency purchases as "quasi cash" transactions, which explicitly excludes them from earning rewards points or miles. In plain terms: even if the purchase itself goes through fine, you probably won't get any cash back or miles for it.
That "quasi cash" label matters beyond just missing rewards. At a lot of U.S. card issuers, transactions classified that way can also trigger cash-advance-style fees, a higher interest rate, and no interest-free grace period — basically treating the purchase more like an ATM withdrawal than a normal swipe. The specifics vary a lot by bank and by card, so it's worth pulling up your own cardholder agreement or calling your issuer before you buy, rather than assuming it'll be billed like a regular purchase. A five-minute phone call up front beats a surprise fee on your statement later.
Whatever payment method you land on, the safer move as a first-timer is a small test transaction. This isn't just about confirming the order goes through — it also lets you check whether your account behaves normally, whether the payment path is smooth, whether the buy screen is hiding fees, and how the charge actually shows up on your bank or card statement. Keeping that first transaction small keeps your downside limited while you're still learning how the whole pipeline behaves.
It's also worth understanding the difference between an instant "market" buy and a limit order sitting in an order book. Instant buys are simpler and faster; limit orders can give you more control over price and fees but come with a more complex interface. If you don't yet understand how an order book works, stick with the mode you fully understand rather than chasing a slightly better price and accidentally taking on more risk than you meant to.
Things to confirm on the payment screen before you hit confirm
- Whether the total shown already includes every fee, or whether more gets added at the next step.
- Whether your card issuer is likely to code this as a cash-advance/quasi-cash transaction.
- Whether you're buying actual BTC or some wrapped or synthetic product with a similar name.
- Whether the asset lands in a tradeable balance you can withdraw immediately, or gets held for a period.
- Where your money goes if the order is canceled, fails, or gets delayed.
Step four: Bitcoin ATMs exist across the islands, but they shouldn't be your main channel
Beyond online exchanges, Hawaii has a fair number of physical Bitcoin ATMs and cash-to-crypto kiosks scattered across the islands, operated by companies including Coinme (which also runs machines inside some retail locations via its Coinstar-branded kiosk network), CoinFlip, Bitstop, and Hilt. Machine density is highest around Honolulu, with additional clusters in areas like Kailua-Kona and Hilo. The appeal is obvious — no online account setup required, and you can walk up and transact on the spot, which makes them useful in a pinch or for someone who just wants a hands-on first experience.
The tradeoff is real, though. Individual machines typically cap how much you can transact per trip or per day — limits vary a lot by machine and operator, with plenty sitting somewhere in the low four figures — and the spread and fees baked into the exchange rate tend to run noticeably higher than what you'd pay on an online exchange. That's not a Hawaii-specific quirk; it's basically true of the Bitcoin ATM industry nationwide. Always check the rate displayed on the machine's screen (or the operator's app) before you confirm anything, and treat these kiosks as a small, occasional, or emergency option rather than your primary way of buying Bitcoin.
Step five: Hawaii doesn't tax "crypto" specially, but you'll still owe capital gains tax
This section is general information, not tax advice — for anything specific to your situation, check current guidance from the Hawaii Department of Taxation and the IRS, or talk to a tax professional who actually handles digital assets.
At the federal level, Bitcoin and similar assets are treated as property, and gains from selling, trading, or spending them are generally subject to capital gains rules — that's true nationwide, and Hawaii doesn't carve out an exception. Hawaii itself doesn't have a separate tax specifically aimed at cryptocurrency; any gains you realize just flow into your regular state and federal filing.
Hawaii's personal income tax uses twelve progressive brackets ranging from 1.4% up to 11%, depending on your taxable income. Long-term capital gains — meaning assets held for more than a year — get taxed separately at a flat 7.25% rate rather than being folded into those ordinary brackets. Sell before the one-year mark and the gain is treated as short-term, taxed at your regular income tax rate instead, which for a lot of people works out higher than 7.25%. So holding period genuinely can change your tax bill in Hawaii, not just at the federal level. That said, this is exactly the kind of thing where a quick conversation with someone who prepares Hawaii returns for a living is worth more than anything you read in an article, this one included.
Step six: withdraw before you think about "holding long-term"
A lot of guides about buying Bitcoin in Hawaii stop at "where to buy" and never get to "where does it go afterward" — which is exactly where the real risk concentrates. As long as your coins sit in a third-party account, your actual control over them depends entirely on that company's systems, policies, and risk decisions, not just your own intentions.
The safer path is learning to move your BTC into a wallet you control fairly soon after buying it. Wallets generally split into custodial and self-custodial: with a custodial wallet, someone else holds the keys on your behalf; with self-custody, you hold them yourself. If you're planning to hold for the long haul, self-custody is closer to what Bitcoin was originally designed for, but it also means backup and loss-prevention become entirely your responsibility.
For your first withdrawal, don't send your whole balance at once. Do a small test transfer first, confirm the address copied correctly, confirm your wallet receives it properly, and confirm you know how to check that it actually landed. Once that works, move the rest. A mistyped address usually can't be reversed, so this is one place where moving slowly actually pays off.
What to understand before going self-custody
What actually matters in a wallet isn't the balance shown on screen — it's whoever controls the private key or seed phrase. Back that phrase up offline, store copies separately, and never screenshot it, email it, or paste it into a chat app. Never hand it to anyone claiming to be "support," a "mentor," or someone offering to manage your holdings for you. Legitimate staff will never ask you for it.
| Stage | Do this | Avoid this |
|---|---|---|
| Setting up a wallet | Download from a source you can verify, record your backup info | Installing from a random link someone sent you |
| Copying an address | Check the beginning and end characters carefully | Glancing at it once and hitting send |
| First withdrawal | Send a small test amount first | Sending your entire balance on the first try |
| Backing up your seed phrase | Store it offline, in more than one physical location | Screenshotting it, cloud-storing it, or sharing it |
Step seven: know the scams that specifically target Hawaii crypto buyers
Scam awareness isn't optional reading — it's arguably the most important part of this whole process. When Hawaii's sandbox program wrapped up in 2024, the state's Department of Commerce and Consumer Affairs specifically issued a public statement reminding residents to stay aware of the risks involved in investing in digital currency. If the regulator itself felt the need to say that out loud, it's worth taking seriously as an everyday user too. Rather than worrying about whether you can find a way to buy, spend more energy learning to recognize situations you should never touch in the first place.
The first big category is social-media "signal groups," "insider access," or "I'll buy and manage it for you" offers. These usually start by building trust, then steer you toward sending funds to a personal account, or asking you to withdraw BTC you've already purchased to an address they control. Once it's sent, getting it back is extremely difficult.
The second category is impersonation — someone posing as support staff, tax help, or an account reviewer. They tend to manufacture urgency: your account looks suspicious, your ID has expired, your withdrawal needs extra verification. Then they ask for a verification code, your login details, or your seed phrase. The moment any of that comes up, stop the conversation and go verify things yourself inside the official app, not through whatever channel they contacted you on.
The third category is "guaranteed returns" or fixed-yield schemes, sometimes dressed up with locally flavored branding like an "island investment club" to sound more trustworthy. Bitcoin's price moves — sometimes a lot — and anyone describing high returns as safe and predictable as a savings account isn't someone a beginner should be taking financial decisions from. Your actual goal here is being able to buy, withdraw, and safely hold your own coins, not handing them off in exchange for a polished-sounding promise.
Walk away the moment you see these signals
- They ask you to send money to a personal account instead of a company payment channel.
- They push you to act immediately, with no time to verify anything.
- They want to screen-share while you log in or send a transaction.
- They ask for an SMS code, a 2FA code, or your seed phrase.
- They promise guaranteed profit, a fixed return, or offer to hold your funds for you long-term.
Frequently asked questions
Can Hawaii residents actually open accounts on Coinbase and Kraken now?
Generally yes, provided you go through the platform's current official sign-up flow and complete verification as prompted. Before 2024, a meaningful chunk of major exchanges genuinely didn't serve Hawaii, but after the regulatory change, platforms including Coinbase have resumed or continued offering service. Verify current availability directly on the exchange's website before you start, rather than relying on an old impression or search result.
What do I need to have ready before buying Bitcoin in Hawaii?
Usually a valid form of ID, a payment method whose name matches your registration, and a secure device and connection to complete verification on. Turning on two-factor authentication ahead of time reduces risk when you fund the account and later withdraw. If you're planning to pay by credit card, check first whether your bank will code the purchase as a "quasi cash" transaction so you're not surprised by extra fees.
Will Hawaii tax my Bitcoin gains differently than other assets?
There's no separate crypto-specific tax in Hawaii — your gains follow the normal capital gains framework. Assets held more than a year are taxed at a flat 7.25% long-term capital gains rate; assets held less than a year are taxed as ordinary income under Hawaii's regular brackets, which range from 1.4% to 11%. Your actual liability depends on your full financial picture, so check current guidance from the Hawaii Department of Taxation and the IRS, or talk to a tax professional.
How much should I buy the first time?
Start with an amount small enough that you're comfortable with it moving in either direction — the goal of your first purchase is confirming the whole pipeline works (registration, verification, payment, buying, and withdrawal), not making a large bet right out of the gate.
Is it fine to just leave my Bitcoin sitting on the exchange after I buy it?
Leaving it there briefly while you set up a wallet is different from treating the exchange as long-term storage. The longer coins sit in a third-party account, the more you're exposed to that platform's policy changes, account restrictions, or your own operational mistakes down the line.
How do I tell if a "buy crypto" invitation is a scam?
If someone asks you to send funds to a personal account, share your screen, hand over a verification code, or promises guaranteed returns, that's already enough of a red flag to walk away. You don't need to prove it's a scam first — recognizing the pattern and exiting immediately is the safer default.
If you're ready to actually buy Bitcoin in Hawaii today, the practical order of operations is: confirm on the platform's own site that it currently serves Hawaii residents, complete identity verification, run a small test purchase and a small test withdrawal, pay attention to how your bank or card issuer classifies the transaction, move the coins into a wallet you actually control, and keep Hawaii's capital gains rules in the back of your mind when tax season rolls around.
Disclaimer: This article is for general informational and educational purposes only and does not constitute investment, financial, legal, or tax advice. Cryptocurrency prices are highly volatile and regulations can change, and you could lose your entire investment. Verify current details through official sources, do your own research, and consult a licensed professional advisor before making decisions.