
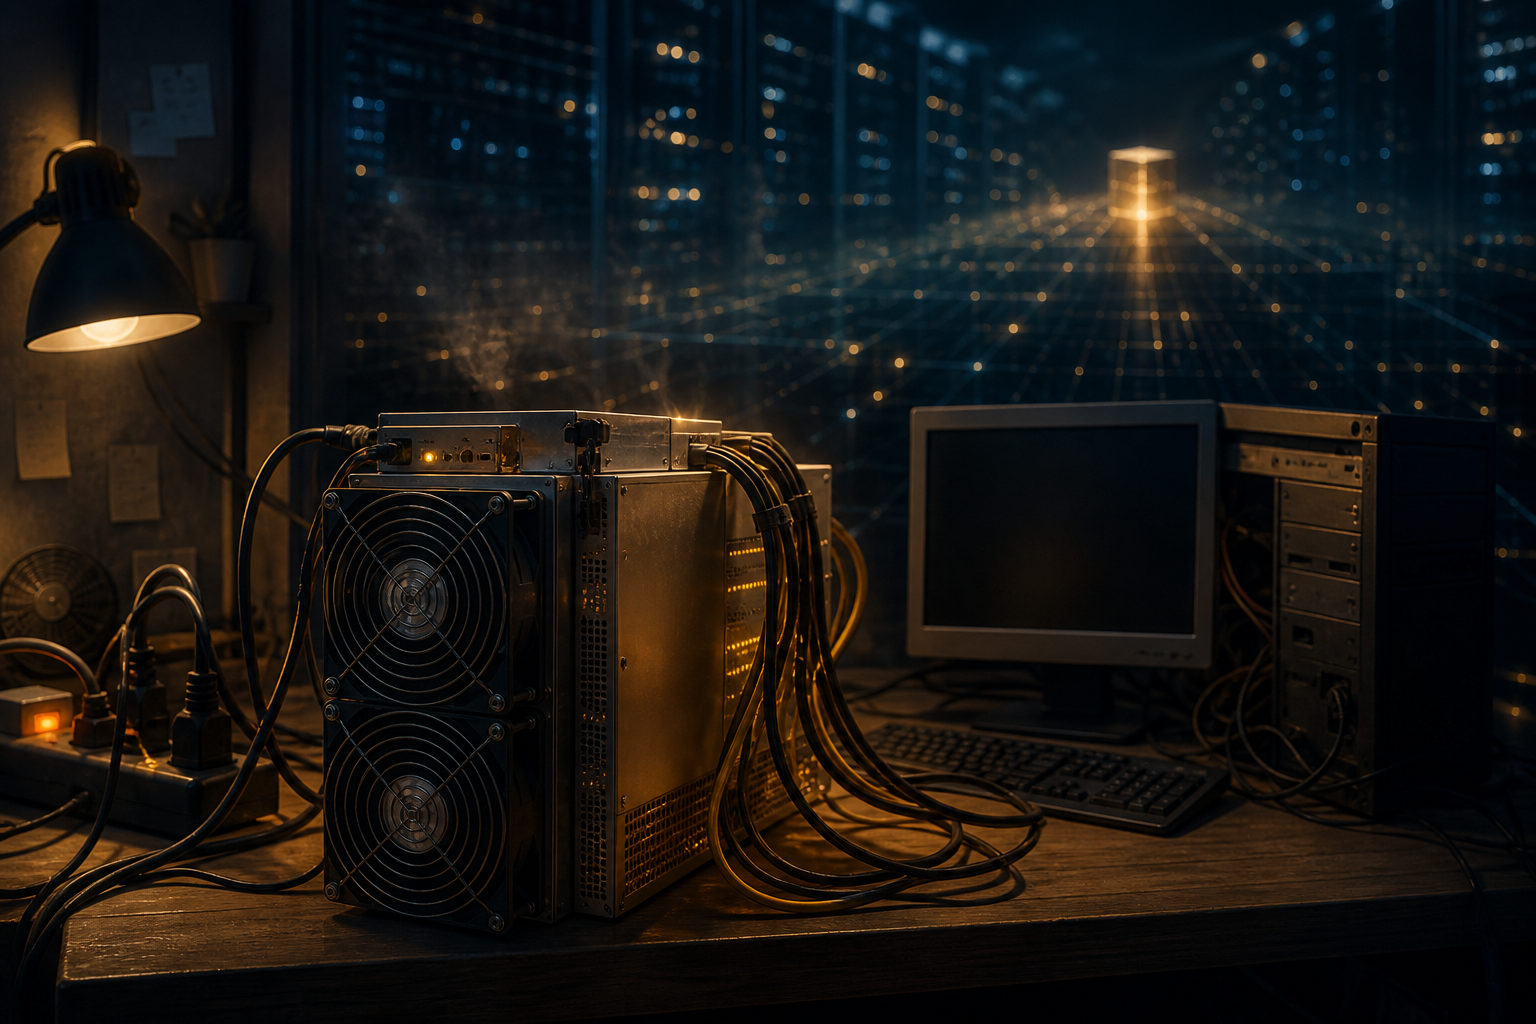
To solo mine Bitcoin, you mine without a pool and compete for blocks on your own. That is possible in theory, but in practice the hard part is not clicking start; it is understanding the block race, running a full node, using the right hardware, and accepting long periods with no block found.
What solo mining Bitcoin actually means
A simple way to picture Bitcoin mining is to think of it as an ongoing bookkeeping race. Miners package transactions into candidate blocks and keep trying hash values until one result meets the network’s difficulty target. The miner that finds a valid block first can broadcast it to the network, and if the block is accepted, the block reward and transaction fees go to that miner.
That is the key difference between solo mining and pool mining. If you solo mine Bitcoin, you do not combine your hash power with a pool operator and other miners. You run your own setup and keep the full upside of any block you find. The trade-off is brutal variance: you may wait a very long time before finding anything at all.
Bitcoin uses proof of work, and there is no shortcut around that process. Every participant is trying huge numbers of hashes, over and over, while the entire network competes at the same time. A new block is found about every 10 minutes, which sounds frequent until you remember that solo mining means you are racing against the whole network by yourself.
What you need before you even think about mining alone
A full node matters
People often frame mining as a hardware purchase. For solo mining, that is incomplete. A proper setup starts with a Bitcoin full node, because the node validates blocks and transactions, stays in sync with the chain, and gives your mining side trusted network state. If you skip that layer and depend fully on a third party, your setup is less independent than the phrase “solo mine Bitcoin” suggests.
Running a node also teaches you how Bitcoin verifies its own rules. That matters because solo mining is not only about producing hashes. It is about participating in the system on your own terms. If you do not understand node sync, storage needs, basic maintenance, and how to confirm that your node is healthy, your mining stack is already on shaky ground.
A normal PC is not a realistic mining machine
Many beginners search for ways to solo mine Bitcoin on PC. That question needs a careful answer. A personal computer is useful for learning, running a node, testing software, monitoring devices, and managing a wallet. It is not a realistic way to compete for Bitcoin blocks on the main network.
Bitcoin mining is dominated by specialized hardware built for this exact hashing task. General-purpose CPUs and GPUs can run software, but they are not competitive for modern Bitcoin mining. If your goal is education, a PC is fine. If your goal is actual block competition, specialized mining hardware is the normal path.
Power, heat, noise, and networking are part of the setup
New miners tend to focus on the machine and forget the environment around it. A mining device runs continuously under heavy load, which means serious heat output, loud fan noise in many cases, and a need for stable power. Even before you think about profitability, you need to ask whether your space, wiring, ventilation, and internet connection are suitable for a system that is meant to run all the time.
That is why solo mining often fails outside industrial or carefully prepared settings. The issue is not just electricity cost. It is also whether your circuit can handle the load, whether the machine can stay cool, whether downtime is noticed quickly, and whether your network remains stable enough to avoid interruptions.
How to solo mine Bitcoin step by step
If your goal is serious participation rather than curiosity, the best route is to build the stack in order. Start with the parts that teach you how Bitcoin works, then move into the hardware side.
Step one: run a Bitcoin full node
Set up a device that can stay online reliably and install Bitcoin full node software. Let it sync fully and verify chain data for itself. This takes time, storage, and patience, but it gives you a grounded understanding of what the network accepts and rejects. It also gives your mining setup a trusted source of chain state.
At this stage, learn the basics of node maintenance. You should know how to confirm sync status, how to spot common operational issues, and how to keep the system stable. Solo mining is much easier to reason about when the validation layer is under your control.
Step two: use specialized mining hardware
Only after that should you move on to mining hardware. For Bitcoin, the standard choice is specialized ASIC hardware designed for the algorithm used by the network. Specific models change over time, so the better question is not which brand is hottest right now. Ask instead whether the machine fits your environment, whether support and maintenance are manageable, and whether you can deal with constant operation.
You also need a secure wallet setup and a payout address you have checked carefully. In Bitcoin, mistakes around addresses and backups are not something you can casually reverse later. That part is easy to underestimate because it looks simple on the surface.
Step three: connect the mining side to your node workflow
Solo mining is not just plugging in a machine. Your mining device or controller needs to work with your node so it can receive current block template data, build candidate blocks correctly, and keep hashing against valid work. The exact software path can differ, but the logic stays the same: the node handles validation and chain awareness, the mining hardware handles intensive hashing, and the wallet receives any reward tied to a valid block.
Keeping these roles separate makes troubleshooting much easier. If your node is out of sync, your machine may appear busy but be working on bad assumptions. If your address setup is wrong, a successful result may not land where you expect. If your monitoring is weak, the system may stop doing useful work long before you notice.
Step four: test before you commit to continuous operation
Do not move straight from setup to nonstop operation. First run smaller tests and verify that the node is healthy, the machine stays online, cooling works, logs make sense, and restart behavior is acceptable after an interruption. That process sounds less exciting than “start mining now,” but it is where many expensive mistakes are avoided.
A hidden problem in solo mining is false confidence. The machine may be powered on, the fans may be loud, and the screen may show activity, yet your setup may not be doing useful work. Testing and monitoring are not extras. They are part of the job.
Why solo mining is not suitable for most people
Solo mining has a strong appeal because it lines up with Bitcoin’s independent spirit. You run your own node, keep control over the process, and if you find a block, you do not split the block reward with a pool. That sounds clean and direct.
The downside is variance. Pool mining smooths out results by combining many miners and distributing rewards according to the pool’s rules. Solo mining gives you the full uncertainty yourself. You might find a block, or you might wait through a long stretch without one. For many people, especially those with limited hardware and home conditions, that is a difficult experience to justify.
There is also the operational burden. Hardware health, firmware management, cooling, power loss, network issues, wallet backups, address checks, and node upkeep all stay on your side. If you do not want that responsibility, solo mining may be interesting as a concept but poor as a practical plan.
Solo mining vs pool mining
The basic difference is simple. In a pool, many miners combine hash power so blocks are found more often, then rewards are shared. In solo mining, you keep your setup independent and retain the full result of any block you find. You also retain the full waiting time and uncertainty.
There is also a difference in control. Solo mining gives you more direct control over the node, the block construction path, and the operating setup. A pool reduces that independence but simplifies the day-to-day side of mining. Neither choice is automatically better for every person. It depends on whether you value autonomy, smoother reward timing, or a lower technical burden.
FAQ
Can one person really mine Bitcoin alone?
Yes. The Bitcoin protocol allows anyone to try. The issue is not permission; it is competition. You are competing against the entire network, so finding a block on your own can take a very long time.
Can I solo mine Bitcoin with a PC?
A PC is useful for learning, running a node, testing software, and managing the setup. It is generally not a practical way to compete for blocks on the main Bitcoin network. Specialized mining hardware is the common choice for actual mining.
Is solo mining more profitable than using a pool?
That is the wrong way to frame it without live operating data. Solo mining gives you the full block result if you find one, but the outcome is much more uneven and all operating risk stays with you. Pool mining trades some independence for a steadier distribution pattern.
Should a beginner buy hardware first or run a node first?
Running a node first is the better starting point for most people. It teaches you how Bitcoin validates data and what healthy operation looks like. Without that base, it is easy to blame hardware for problems caused by sync, configuration, or wallet mistakes.
What risk do new solo miners miss most often?
Many focus only on power cost. In practice, heat, noise, unstable internet, poor monitoring, bad address setup, and weak backups can be just as damaging. Solo mining is a full system, not a single device.
What to check before you begin
If you are serious about learning how to solo mine Bitcoin, pause before buying gear. Make sure you are willing to run and maintain a full node, confirm that your space can handle a high-load machine for long periods, set up wallet backups carefully, double-check payout addresses, and accept that long dry spells are part of the process. Those checks are more important than the first power-on.
Disclaimer: This article is for informational and educational purposes only and is not investment, financial, or legal advice. Crypto assets are highly volatile and you could lose your entire investment. Do your own research and decide carefully.